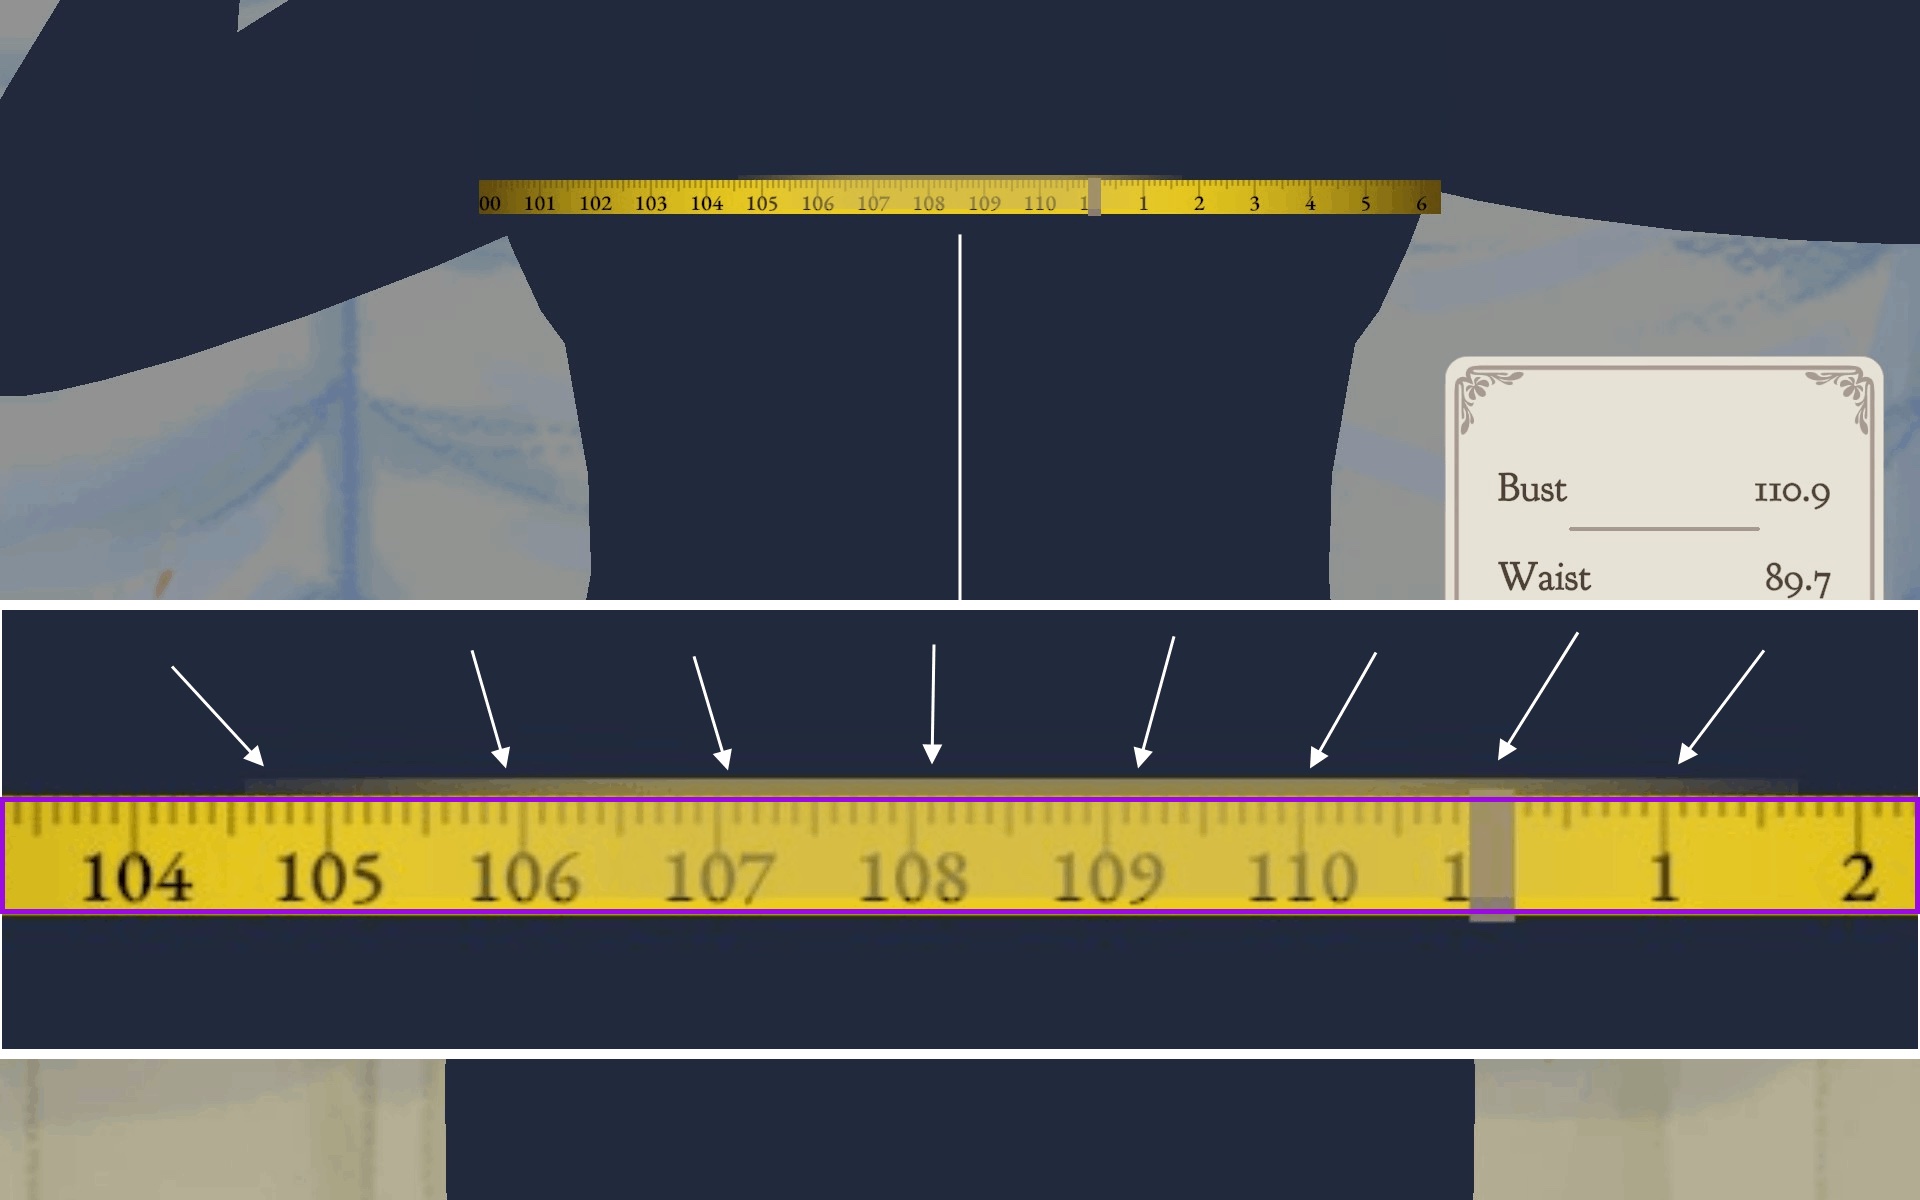
Measure along the ghost line
The measuring minigame shows a tape and a white ghost reference line. Run the tape along the ghost line — the closer the tape tracks it, the better the reading. This first reading is the foundation every later step builds on.
Load, confirm or re-measure
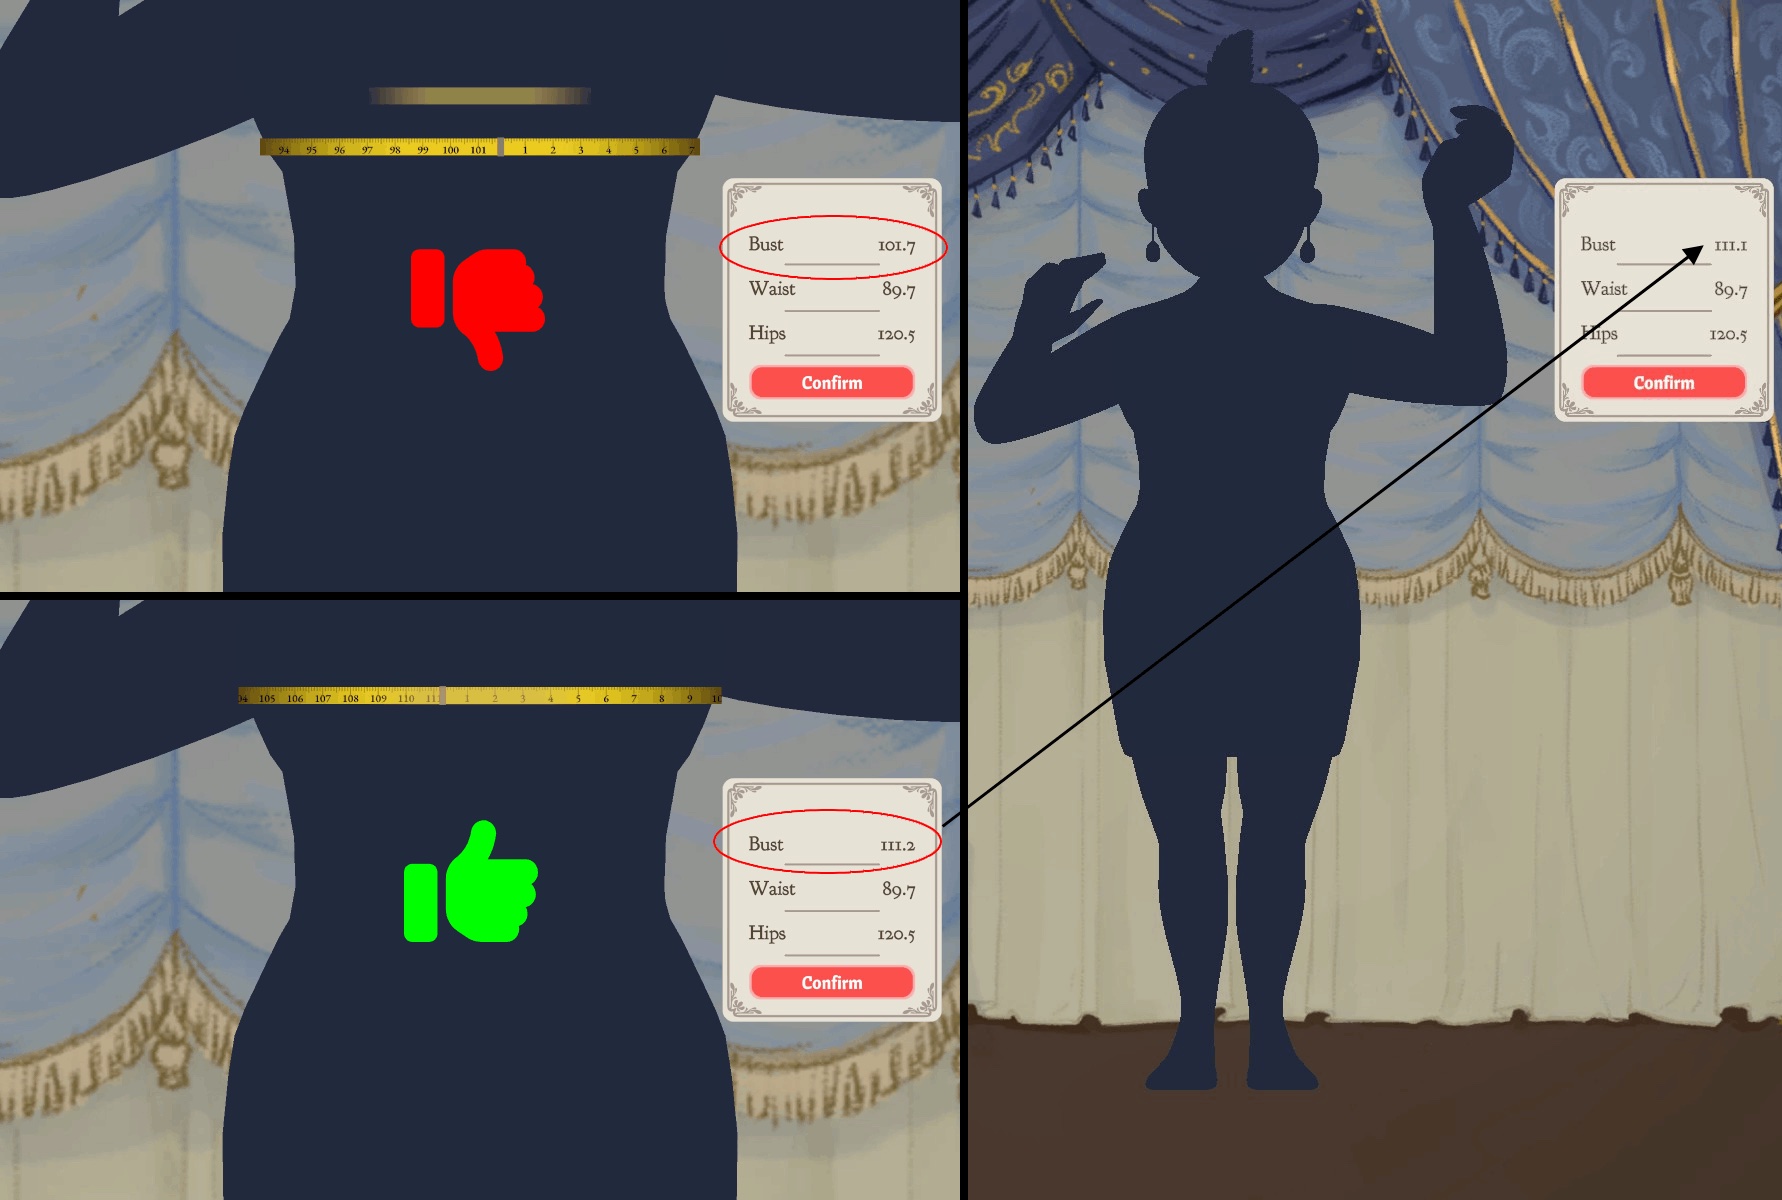
For a customer you have measured before, the fitting room's Load Measurement loads her saved body numbers onto the panel — that only loads the numbers; the mannequin still needs adjusting to match. If the numbers look wrong, re-measure: the documented comparison shows the same customer measured at bust 101.7 versus 111.2, marked as the failing and passing readings.
Dial the mannequin for this dress
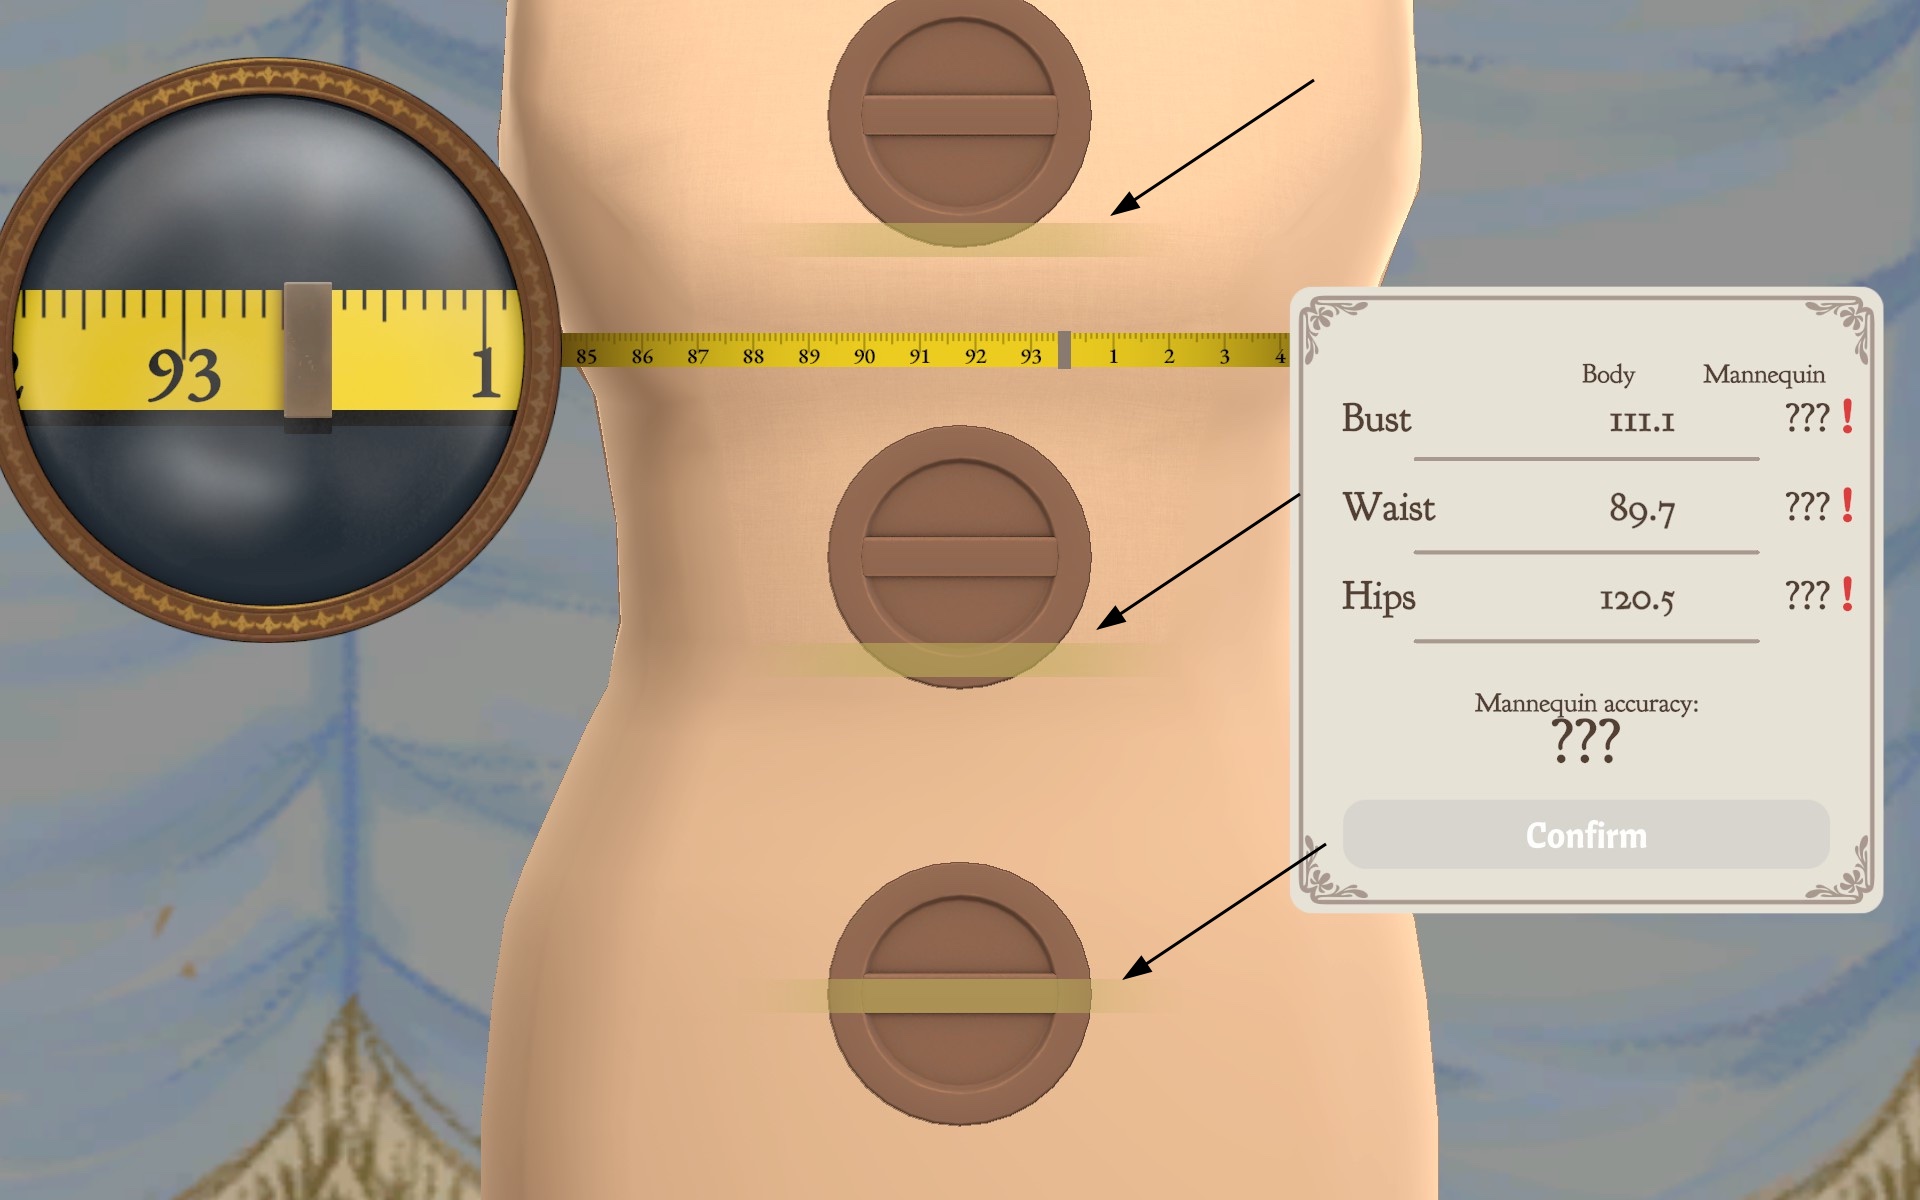
After drafting, the mannequin screen shows three dials — bust, waist, hips — and a Body-versus-Mannequin panel. The documented state to reach is the mannequin matching the customer's numbers for the dress you are making now, not a one-time setup: the numbers persist, the mannequin does not set itself. Do this before sewing, so size problems surface at the cheap end of the chain.
How exact must the dials be? The two documented authors differ in emphasis: one writes that mannequin fitting does not need to be absolutely precise, while another notes a UI fitting reading of 100 that still did not produce a final Quality of 100. The safe reading: fitting accuracy and final dress quality are two different indicators — a good fitting readout helps but is not the achievement. No verified tolerance numbers exist, and this site does not invent them.
Grain and sewing per piece
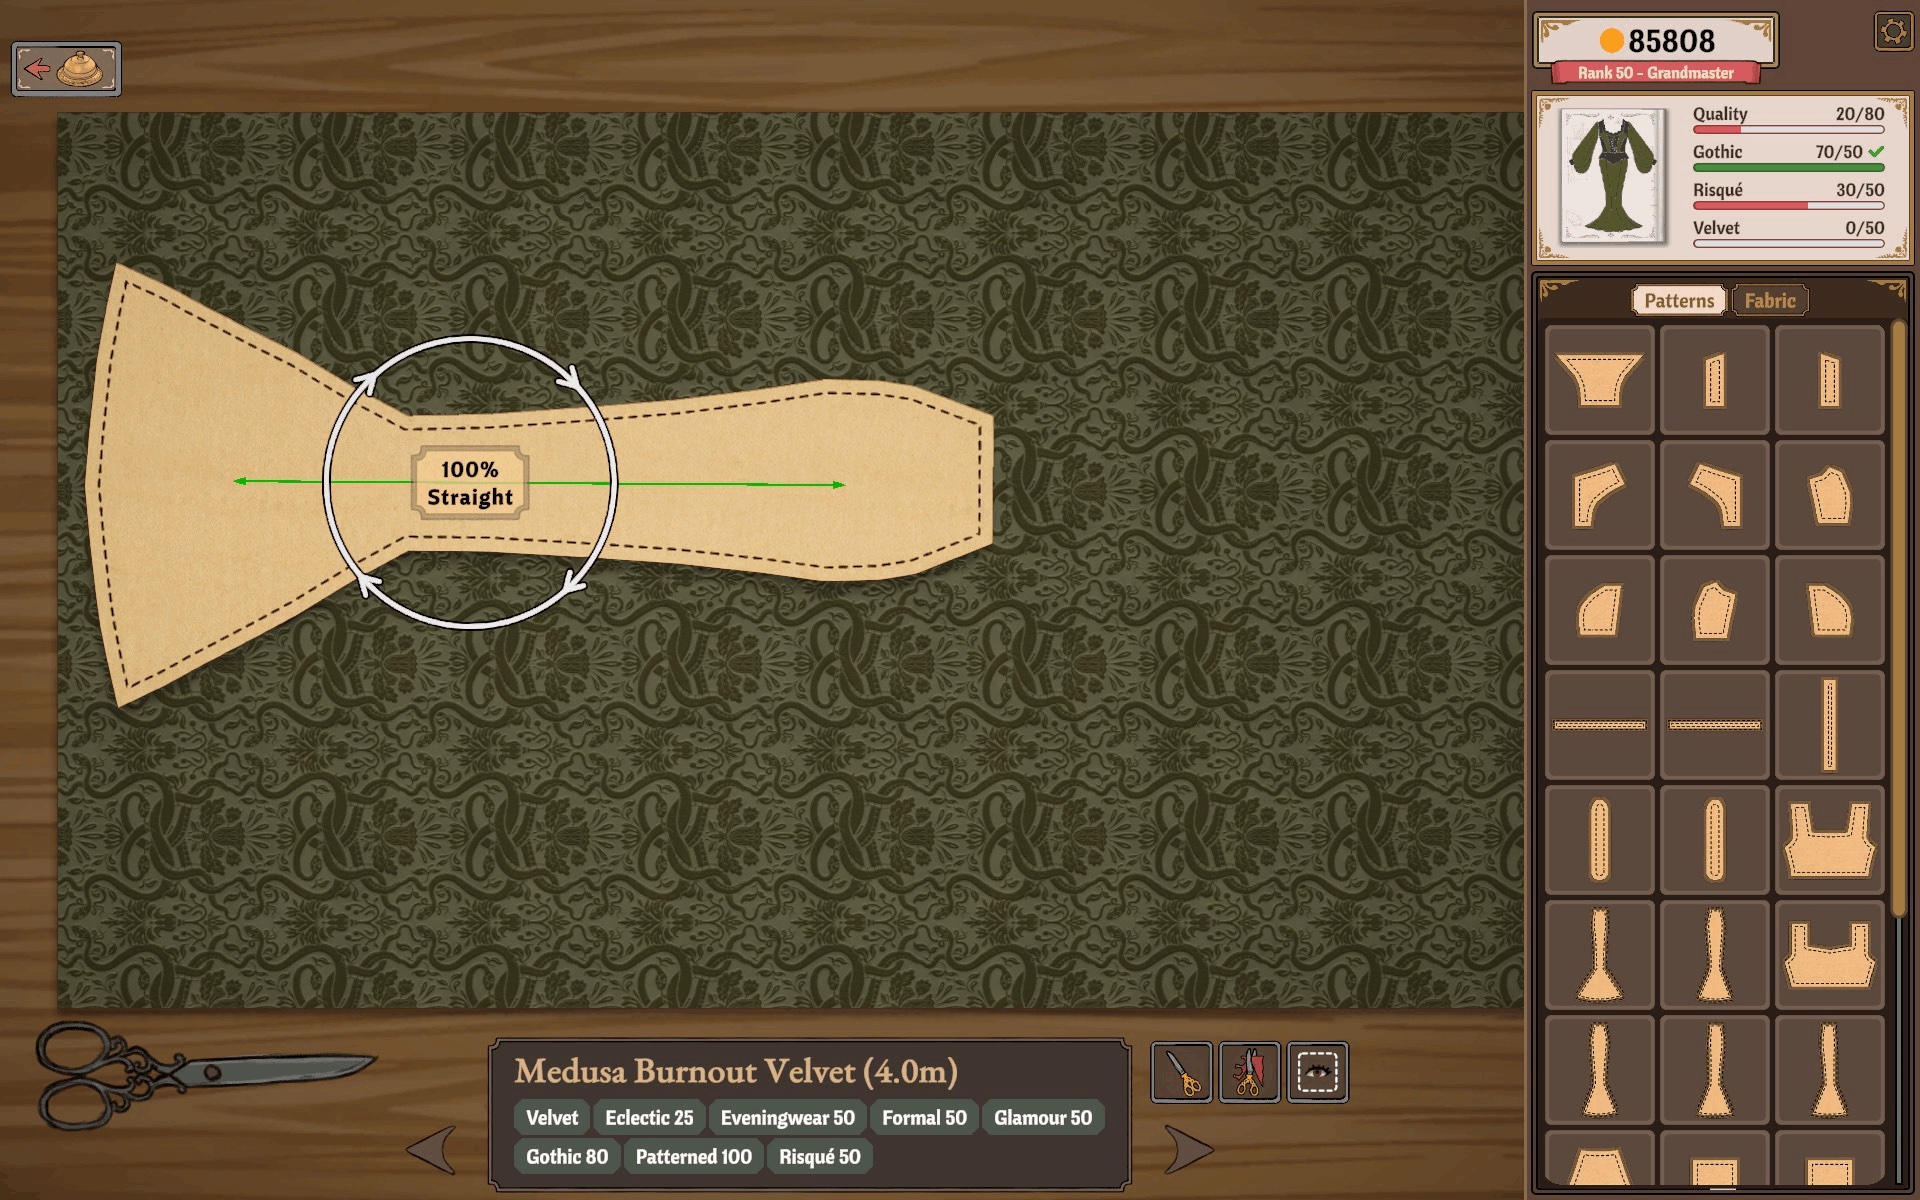
At the cutting table each piece shows grain feedback — the documented target reads “100% Straight” on the piece. Check it per piece as you lay them out; the cutting guide covers this check in isolation.
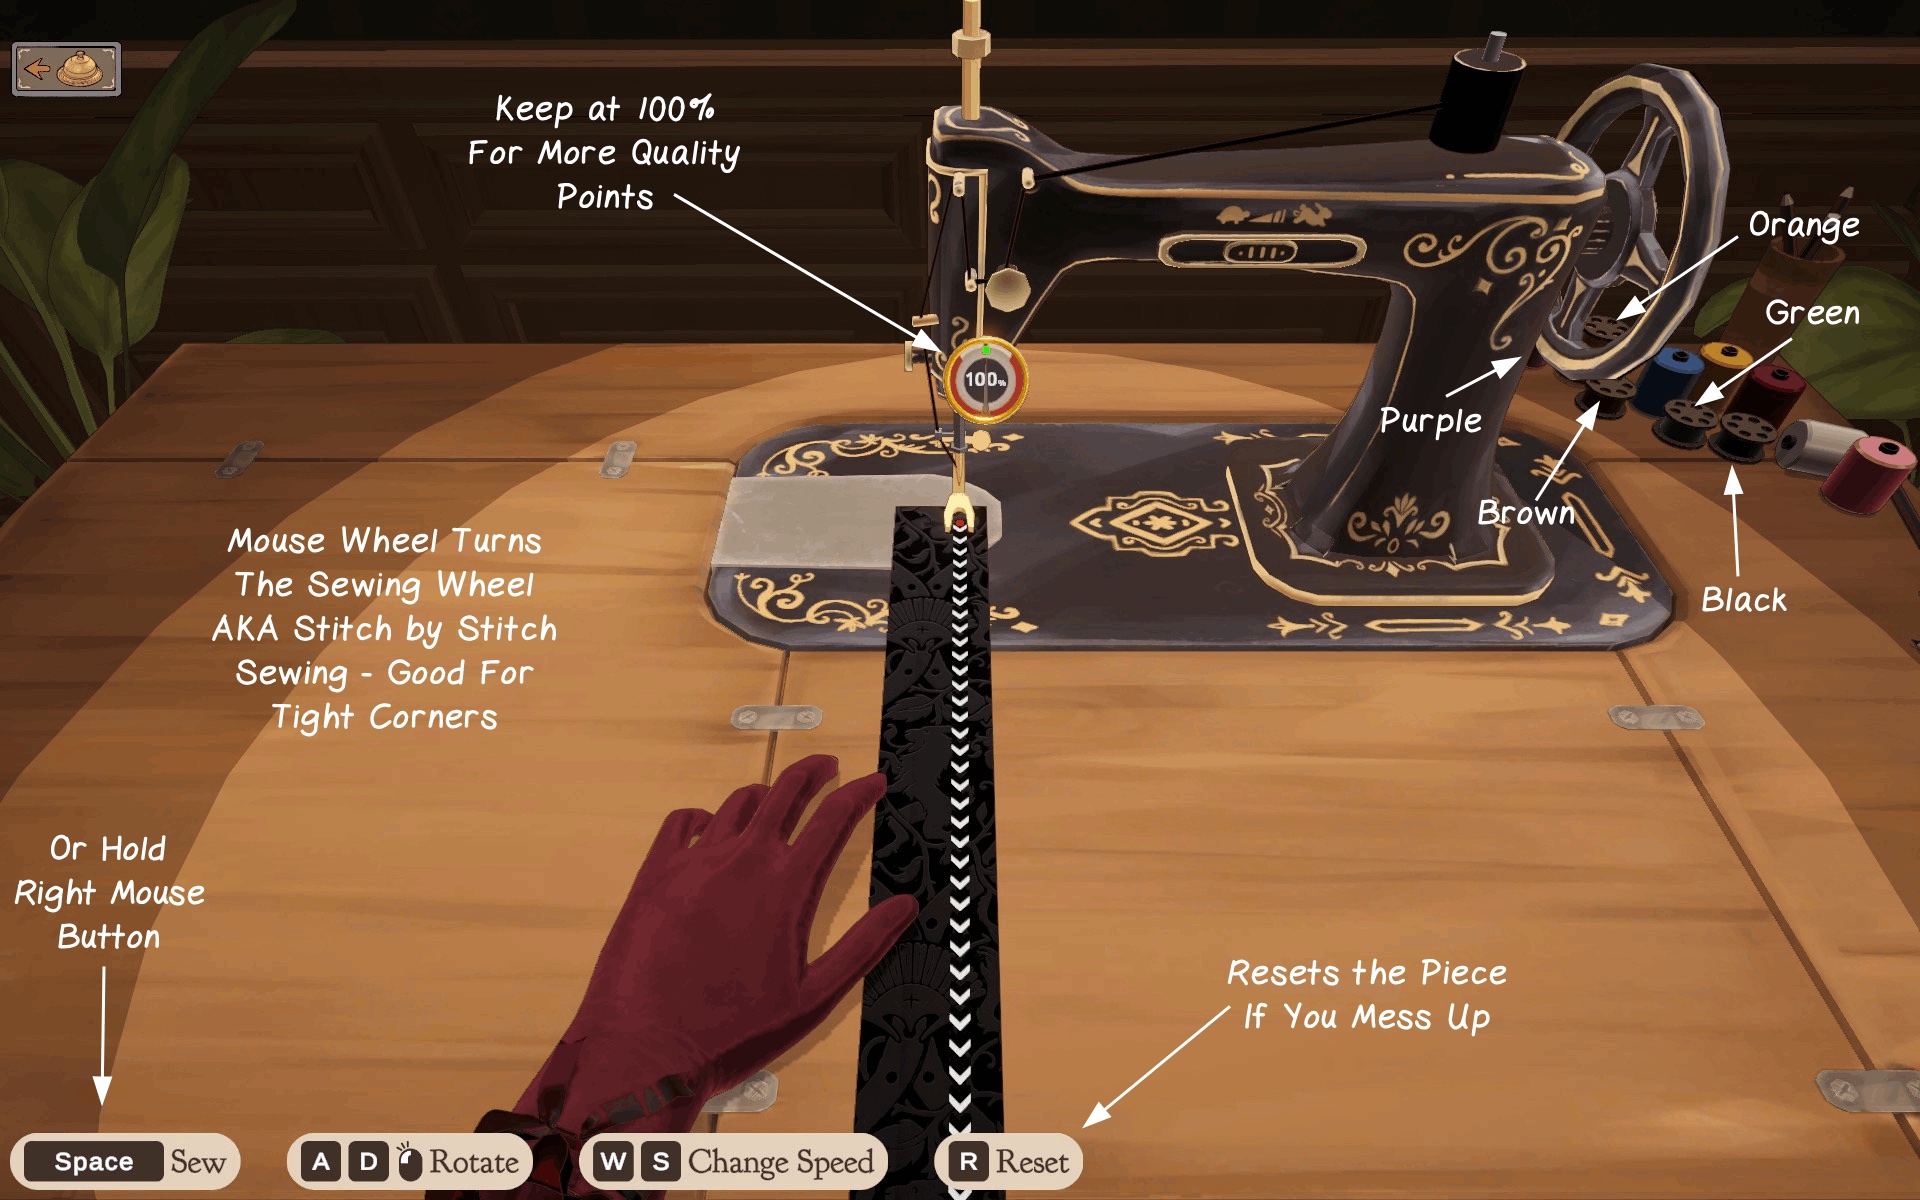
At the machine, the gauge beside the needle is the live feedback: the author's annotation reads “Keep at 100% for more quality points”. Space sews, A/D rotate the piece, W/S change speed, the mouse wheel stitches step by step for tight corners, and R resets only the piece currently on the machine if a seam goes wrong — it does not unpick anything already attached.
Read the final Quality
Read the finished dress's final Quality row — not the measuring minigame, the mannequin readout or any single piece's grain — then check the achievement in Steam. A documented draft in the achievements context shows Quality 100/80 with all rows green at the sewing-complete stage, which is the shape of result you are aiming at.
If quality falls short while you are still sewing the current piece, R resets that piece before it goes onto the mannequin. Once a piece is attached, use the seam ripper to unpick it, return it to the pattern inventory, then recycle and recut at the cutting table as needed; R cannot repair an attached piece or a finished dress. Check seams, then grain, mannequin settings and measurements to find the weak step. The rework & recycle guide shows that recovery chain and when fabric can be returned.